
🎵She hit the floor🎵
- Elliot Pavlovich
- Nov 5, 2020
- 5 min read
Updated: Oct 8, 2021
It's not as exciting as the song. I just put in the sub floor.


People of Interest:
Brian - hometown friend who is also and engineer
Cost
Spray Paint - $4.38
1x3 wood (3)- $11.94
Spray Adhesive- $8.58
Strong Glue- $14.97
Insulation (2) - $36.89
Contractor's paper - $10.28
Plywood (3) - $93.39
1 in wood screws (2) - $2.98
Total: $162.84
Materials I already had
Grinder
Face shield - my Dad brought onw home from work
Gloves
Scrub brush, Bucket, Water, Soap
Measuring Tape
Miter saw
Random heavy things
Saw horses - Brian let me barrow his
Jigsaw
Drill
Screw driver
Duct Tape
Prepping the floor
First I took every thing out of the van. Seat, walls, ceiling, old floor. Check out the previous post to read about the demolition.
I was concerned to see how much rust there was in the back. My guess it came from a leak I later discovered coming from the back left window. Tightening all the bolts fixed that problem though. I grinded off as much rust as a could, then sprayed over the exposed metal with white Rust-oleum spray paint. Remember to wear a face shield, long sleeves and gloves when grinding so that you don't get rust dust (try saying that 5 times fast) in your eyes or on your skin. Also remember to wear old clothes when spray painting. It might seem less messy that regular paint, but it's not.
It sucks when you clean only one part of something then the rest of it looks dirty. Then you feel obligated to clean the rest of it.
After I painted over the rusty parts, the unpainted parts looked really dirty. I knew that it was going to be covered, so I moved on to the next step of cutting the 1x3 wood. But I want this van to be something I was proud of, so I was not going to skimp on things that were easy like scrubbing the dirt off. Warm water and soap. Easy peazy, lemon squeezey (and lemon scented).
The grinding and cleaning took the longest, but it was definitely worth it.
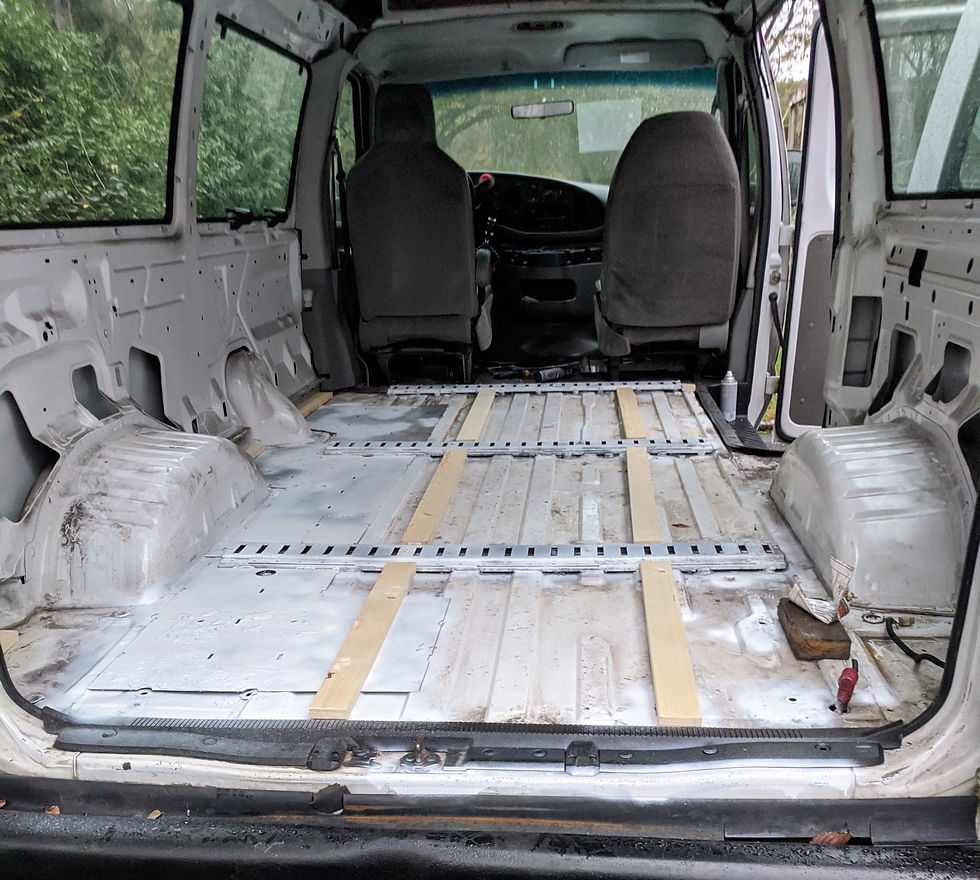
Studs
As you can see from the pictures, before I was even done prepping the floor, I had moved on to cutting the 1x3 pieces to make the studs. This is what the plywood is screwed into. The studs would be glued to the floor, then the plywood screwed into that. This was mostly out of caution so that I would not accidently puncture anything on the undercarriage. I had to do mine in 3 sections because of the slotted metal pieces that went across the van.
Measure twice, cut onc
At first I thought the slotted metal sections were going to be a problem. The previous subfloor went around them. I thought they were ugly and might pose a tripping hazard, so I was hoping I would be able to remove them. Turns out the were welded to the floor. My best guess is that they were for bolting seats too, though the seat I removed was not bolted to it (see previous bolt for the saga of removing the seat). In the end it didn't matter, because the insulation was thick enough that when I laid the plywood on top, there was no interference anyways.
Once glued, I weighed them down with random heavy things I could find in my garage (photo above).
SITUATION!
There was a problem getting the plywood and insulation. I went to Lowes first (I had been having more luck with Lowes than Home Depot the past 2 times). Lowes didn't have the right insulation though. So I bought what I could, which included the plywood. I went in the CR-V instead of the truck (filled with van guts) or van (not registered yet). Even though the CR-V is a hatchback (and I moved my entire college apartment's stuff back from Boston in it), it was not big enough for the 4 ft x 8 ft sheets. They got tied to the roof instead.
I stopped at Home Depot next and picked up the insulation. I thought it was all set, I made sure to tie the front so it would not get caught in the wind. While driving on the highway, I heard a loud pop and pulled over immediately. I thought the wood or insulation flew off and hit another car. Luckily it didn't. The insulation got torn by the string and snapped in half.
Obviously I couldn't drive on the highway like that anymore. I tired to untie the the string, but I had done too good a job, and I was on the side of the road with cars zipping past. Without a knife, I cut it with my keys. Eventually I got insulation off and tried to stuff them in the back of my car, but still couldn't fit. I drove with the trunk open and the sheets half sticking out. Immediately I got off the highway and tried to find a backway home. I pulled off onto a side street and saw a family getting ready to head out. I pulled over and asked them for a knife. In hindsight that may have come off a bit serial killery, but it was clear that I just needed to cut the insulation to fit in my car. They were kind enough to run inside and let me borrow a knife.
(Photo series below)


Insulation
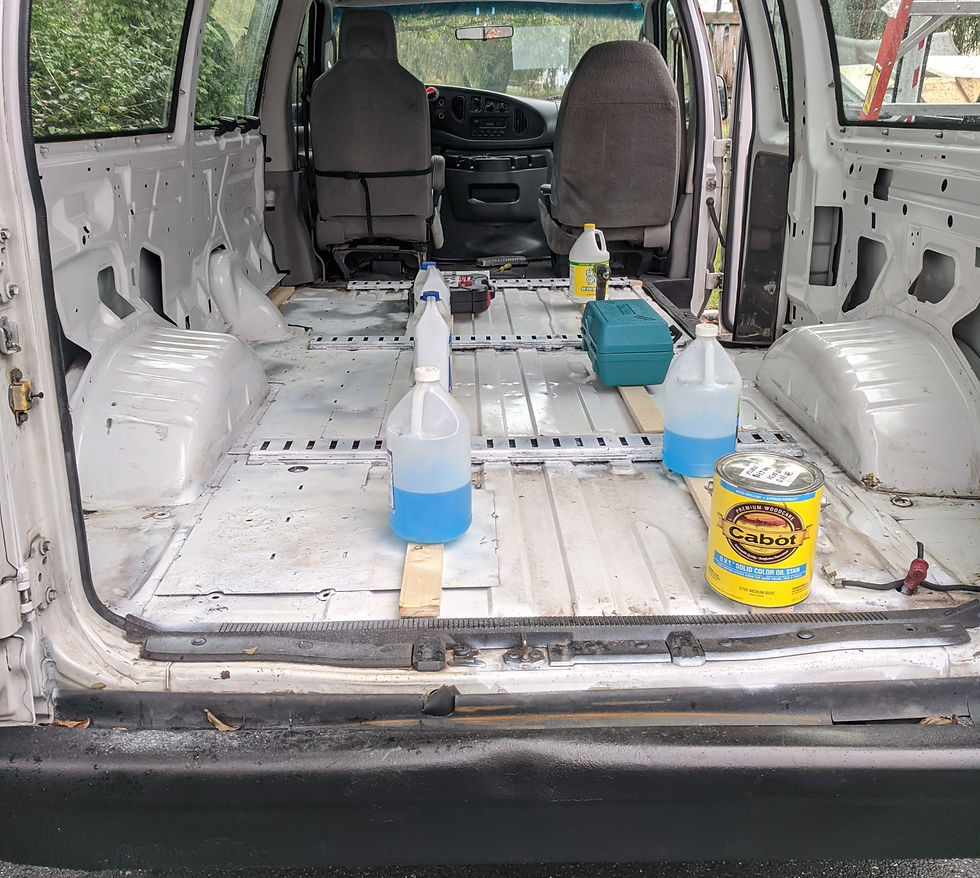
I want to take a quick minute to talk about the different insulations. Read more here. The best is definitely using sheep wool. It's effective, anti-microbial and environmentally friendly. Problem is its expensive and thick. I made a comment earlier that I could just barely stand in my van as it is, so I wanted to keep the insulation as thin as possible but still effective. There's only one company that sells the wool as insulation (Havelock), but when I went to their website, they were back ordered for weeks. Between that, the expense and thickness, I chose to go with the next best option: polyiso foam board
It isn't the pink foam board, that's extruded polystyrene foam board. The main difference is that XPS (pink board) is cheaper, but less effective and the manufacturing process is more environmentally destructive. Polyiso also comes with a reflective side where as XPS doesn't. Both are easy to work with, just need a box cutter.
The 3 slotted metal sections in the van are raised. I thought this was going to be a problem, but the insulation was thick enough that when I put the plywood on top, they didn't matter. I tried to figure out what they were used for and even try to remove them, but they were welded to the floor.
I cut the insulation to size and glued them down with the spray adhesive. As a math person I enjoyed cutting rectangles that were smaller and smaller. It was Riemann integrating in real life.


Subfloor
I used the contractor paper to trace out the floor...
transfer it to the plywood...
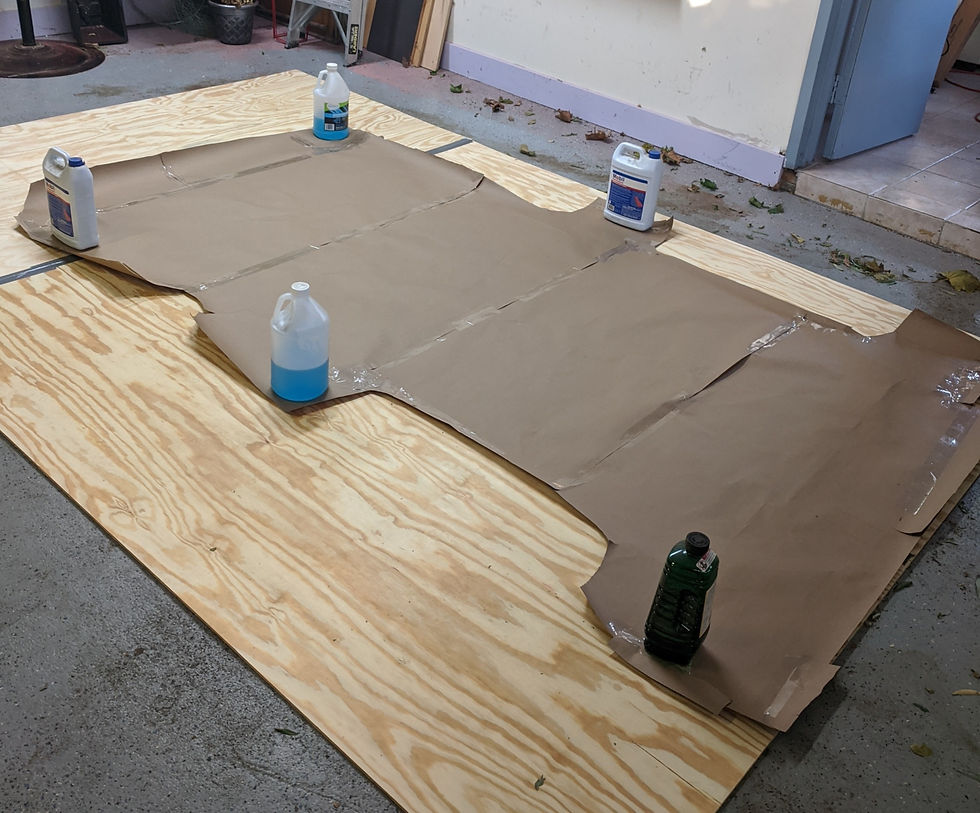
then cut it out...
and screw it into the studs.
Finale


Comments